Product
Getting started with Mailgun: An introduction to the platform
Need some help getting started with Mailgun? This introduction to the platform can help you get settled in starting with Mailgun -
PUBLISHED ON
When you first get started with any new software, it can take some time to fully understand the feature set and master the platform-specific tools available.
This can be really frustrating.
You want to get everything set up quickly so you can get back to building your app.
To make this easier and help Mailgun users avoid the screaming-in-frustration stage of software use, I hosted a live training yesterday. During this webcast, I talked about what needs to be in place to start sending, receiving, and tracking your emails with Mailgun.
You can watch the replay here!
If you’re new to Mailgun or just looking for some additional guidance, here are a few of the getting started tips I covered during the training:
1. Don’t forget to activate your account
When you first sign up for Mailgun, you’ll get an email from us with the subject line “Please verify your Mailgun account.” Click the link in that email and then follow the instructions to verify your account with a phone number that supports text messages.
This may seem like a lot of steps, but it helps prevent abuse. If you’re thinking “Well, I’m not a spammer,” a) we’re happy to know you, and b) by keeping spammers away, we can maintain positive reputations for our shared IPs, which is a good thing for everyone.
2. SMTP or API: choose the sending method that works for you
Whether you send messages via SMTP or via API is entirely up to you. They both have their pros and cons. SMTP is generally easier since you can plug and play with a lot of applications, and API is faster and scales better, making it the more popular way to send with Mailgun.

You can learn more about each of these options on this page of our Quickstart Guide in the docs.
3. Set up routes for inbound emails
A route is a pair of filter + action. Each incoming message passes through a filter, and if it evaluates to true, the specified action is executed.
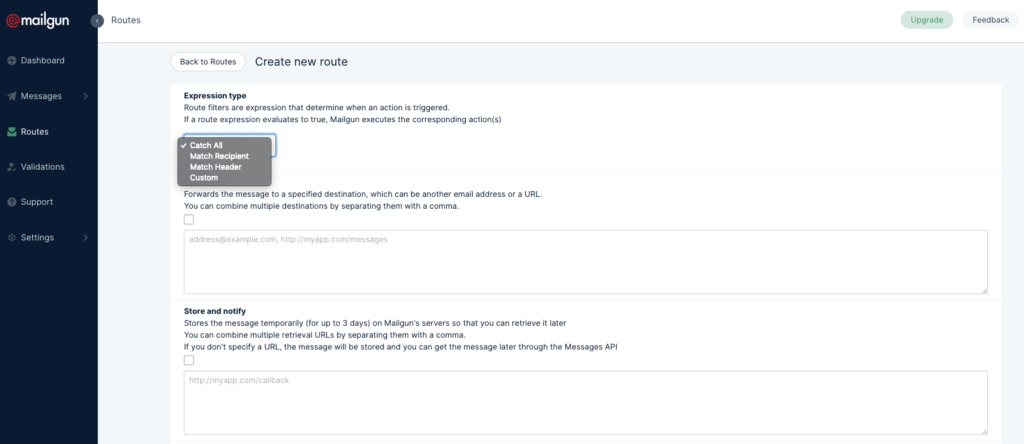
Mailgun’s routes are highly customizable, allowing you to filter by message recipient, header, or a catch-all. And then there are four different route actions: forward() to email, forward() to URL, store(), and stop(). You can read more about this in the docs, or watch the webinar replay for a quick explanation of this feature.
4. Decide how you want to access your event data
Mailgun tracks opens, clicks, and other metrics for each message event, and this event data is available to you through our Events API, webhooks, or the Logs tab in Mailgun’s dashboard. You can use one of these interfaces or any combination thereof.
The new Analytics tab gives you additional stats to help evaluate your email performance. Get started with analytics by adding tags to your messages. We go into more detail about best practices for tagging your messages on this blog.
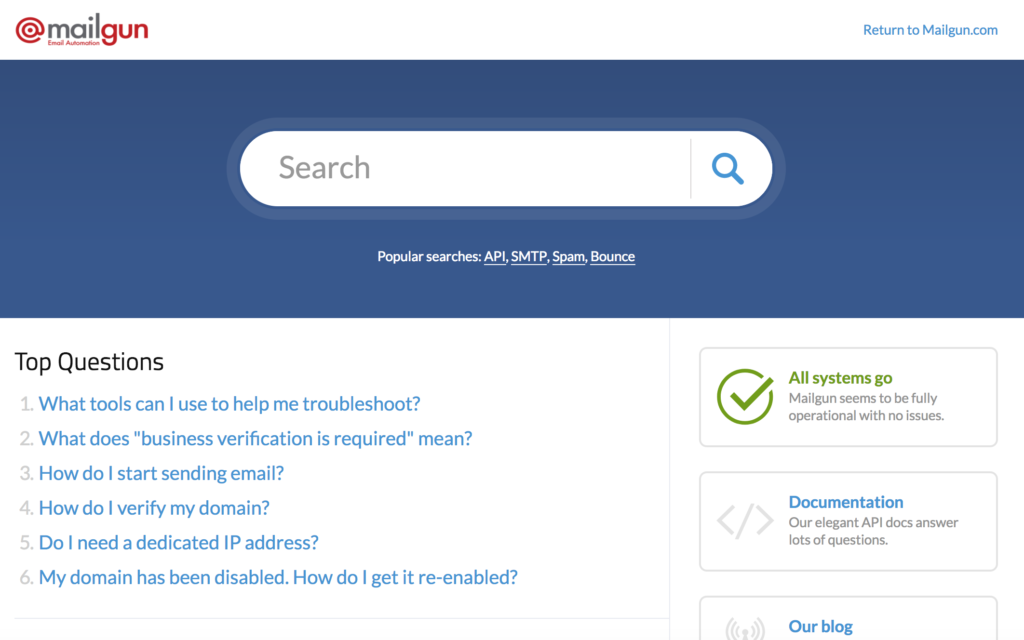
5. Reach out to Support. We’re here when you need us.
If you’re experiencing any issues or you just have a question, contact our support team. You can reach us via the Support Center in the Mailgun control panel. We also have a help section with answers to frequently asked questions and links to other resources.
Watch the Getting Started with Mailgun Training
For more help getting set up with Mailgun, watch the training. In less than 45 minutes, you'll get a great overview of how Mailgun works, plus answers to questions from your fellow users.
Popular posts

Here’s everything you need to know about DNS blocklists
The word “blocklist” can almost seem like something out of a movie – a little dramatic, silly, and a little unreal. Unfortunately, in the real world, blocklists are definitely something you...
Read more

